How Uninstall Scribus Software in Mac
The Scope: This guide offers a step-by-step process to fully remove Scribus and all its files from your macOS system.
The Problem: Just dragging the Scribus app to the Trash doesn’t do the job. It leaves behind hidden files that take up space and can cause issues if you reinstall later.
Why Trust This Guide: We focus on practical, tested methods. Our approach ensures a complete and safe removal, so you won’t have any future problems.
Search Intent Alignment: You want to know how to properly uninstall Scribus, not just delete the app. We’ll show you how to find and remove every trace of the software for a clean start.
Why a ‘Proper’ Uninstall Matters: The Hidden Files Scribus Leaves Behind
When you uninstall an app, it’s easy to think you’re done once the icon disappears. But macOS applications create numerous files outside of the main /Applications folder. These files store settings, user data, and temporary data.
There are three main types of residual data:
- Preference Files (.plist): Store your custom settings, like window sizes and tool configurations.
- Application Support Files: Contain plugins, templates, and other critical operational data.
- Cache Files: Temporary data used to speed up the application, which becomes useless clutter after uninstallation.
Leaving these files behind can lead to wasted disk space, potential software conflicts, and persistent errors if you attempt a fresh installation later. It’s frustrating, right? You think you’ve uninstalled the app, but it keeps causing issues.
To avoid this, it’s crucial to do a proper uninstall. Check out how uninstall shotscribus software in mac for a step-by-step guide. Trust me, it’s worth the extra effort.
Part 1: The Basic Removal (The First and Incomplete Step)
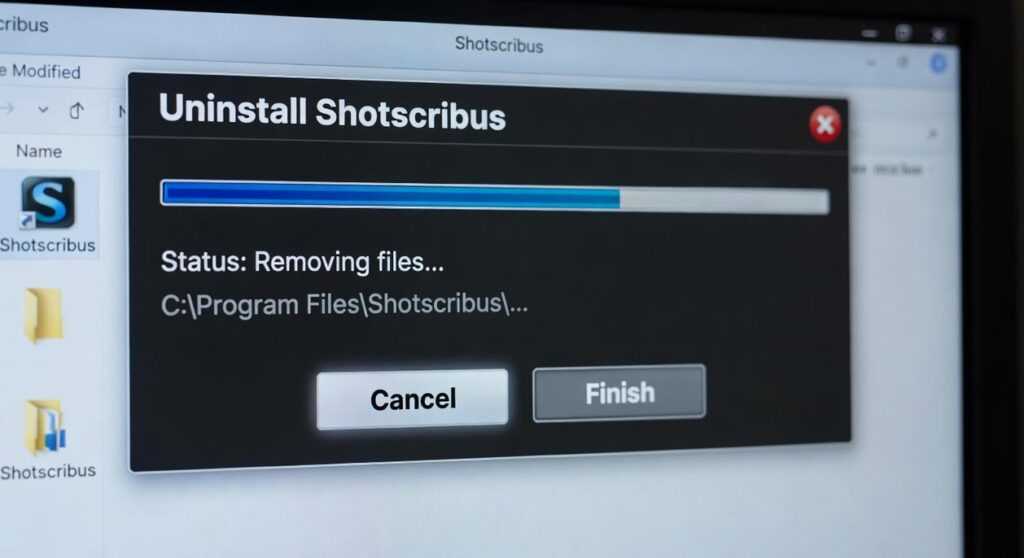
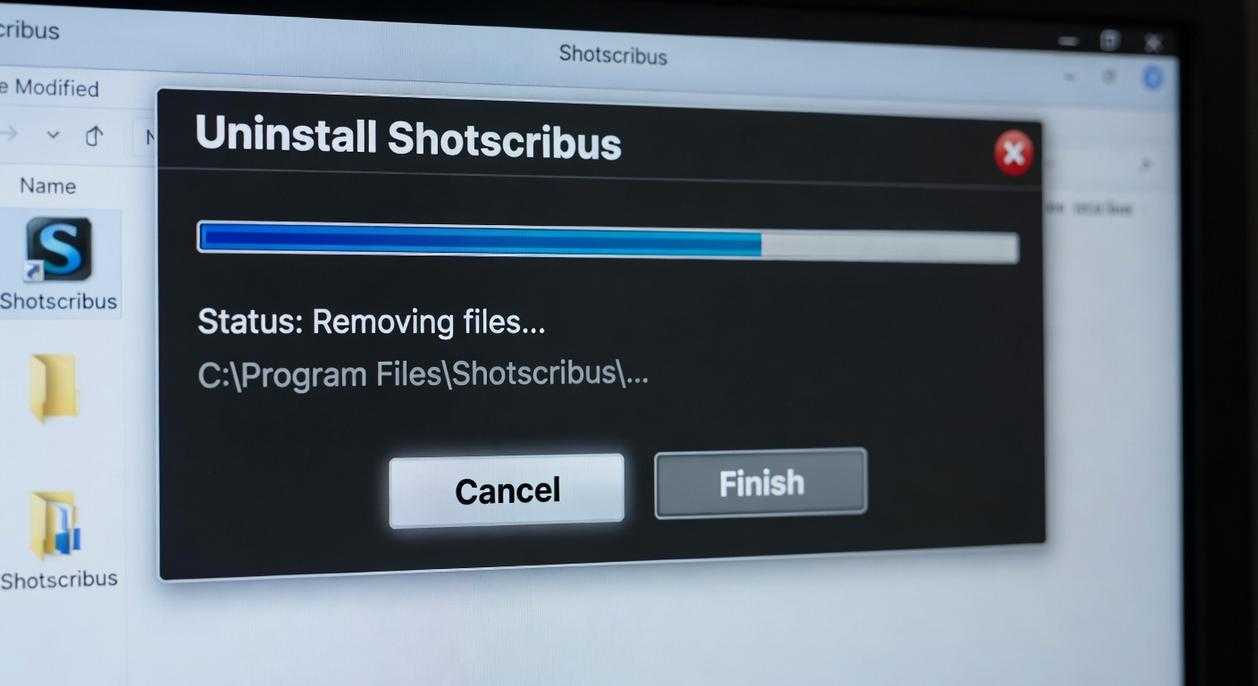
First, make sure Scribus is not running. Check the Dock for an active indicator. If you see it, right-click and choose “Quit.” If it’s still running, open Activity Monitor and force quit.
Next, move the application to the Trash. Here’s how:
- Open the ‘Finder’ application.
- Go to the ‘Applications’ folder.
- Find the ‘Scribus.app’ icon.
- Drag the icon to the Trash or right-click and select ‘Move to Trash’.
Emptying the Trash will permanently delete the main application file. But this doesn’t remove all the hidden support files. That’s why the next steps are essential.
For more detailed steps, check out this guide here.
If you need to know How Uninstall Shotscribus Software in Mac, follow these steps carefully.
Part 2: The Deep Clean – Manually Hunting Down All Scribus Files
Start with a clear warning to only delete files and folders that are explicitly named ‘Scribus’ to avoid damaging other applications or the operating system.
A Word of Caution
Before you start, make sure you only delete files and folders that are explicitly named ‘Scribus’. This will help you avoid accidentally damaging other applications or your operating system. If you’re not sure, it’s always a good idea to double-check.
Accessing Your User Library Folder
To access the hidden User Library folder, follow these steps:
- Open Finder.
- Click ‘Go’ in the top menu bar.
- Hold down the ‘Option’ key.
- Click ‘Library’.
This is where most application data is stored.
Step-by-Step File Deletion
Check Application Support
- Navigate to
~/Library/Application Support/. - Look for a folder named ‘Scribus’.
- Move it to the Trash.
Remove Preference Files
- Go to
~/Library/Preferences/. - Search for any files starting with
net.scribus(e.g.,net.scribus.scribus.plist). - Move them to the Trash.
Clear Caches
- Head to
~/Library/Caches/. - Find any folders named ‘Scribus’ or
net.scribus. - Move them to the Trash.
Check Saved Application State
- Go to
~/Library/Saved Application State/. - Look for a folder named
net.scribus.scribus.savedState. - Move it to the Trash.
Final Step
Empty the Trash one last time to permanently erase all Scribus-related data from your Mac.
Pro Tip: If you’re still seeing Scribus files after this, it might be worth checking if there are any other locations where the app stores data. Sometimes, apps can have hidden directories or use different naming conventions.
Admissions of Uncertainty: It’s important to note that while these steps should cover most cases, every Mac setup can be a bit different. If you’re unsure about any of these steps, it might be a good idea to consult with a tech expert or do some additional research.
How Uninstall Shotscribus Software in Mac can also be a helpful resource if you need more detailed instructions on removing related software.
Alternative Method: Using a Third-Party Uninstall for an Automated Clean
For those who prefer simplicity, the manual process can be daunting. Let’s face it, How Uninstall Shotscribus Software in Mac can be a bit of a headache. That’s where third-party uninstaller apps come in. These tools are designed to scan your system for the main application and all its associated library files, then delete them in one click.
How They Work
These tools do the heavy lifting for you. They find and remove not just the app but also any leftover files that might be hiding in your system.
Pros and Cons
- Pros:
- Fast, easy, and thorough.
- Reduces the risk of accidentally deleting the wrong file.
- Cons:
- Requires installing another piece of software.
- Some of the most feature-rich options are not free.
Example Tools
- AppCleaner (free): A simple and effective tool for Mac users.
- CleanMyMac X (paid): Offers more features and is great if you’re willing to spend a little.
Using a third-party uninstaller can save you time and stress. Just make sure to choose a reputable tool. If you want to know more about whether Shotscribus is right for your needs, check out is shotscribus used for edit.
Your Mac is Now Completely Free of Scribus
You have now successfully completed a full, proper uninstallation of Scribus, going far beyond a simple drag-and-drop deletion. By removing the hidden support and preference files, you’ve reclaimed valuable disk space and eliminated any potential for future software conflicts. Whether you chose the detailed manual method or an automated uninstaller, your system is now truly clean. Encourage readers to apply this thorough uninstallation technique to other software to keep their Mac running smoothly and efficiently.
 Portiana Bowsery contributes to gfxpixelment with a strong focus on user experience, product usability, and the evolving landscape of smart technology. Her articles highlight real-world applications, tech adoption strategies, and forward-thinking perspectives that support readers in navigating today’s digital ecosystem.